- Incoming and outgoing calls through Zadarma (multiple accounts support);
- Push notifications support for uninterrupted receiving of incoming calls and extended battery life;
- Instant SMS messages sending and receiving;
- Ability to set CallerID and call forwarding within the app;
- Ability to temporary disable account in the app and set to receive incoming calls only through Wi-Fi;
- Automatic integration with your contacts (including copying numbers);
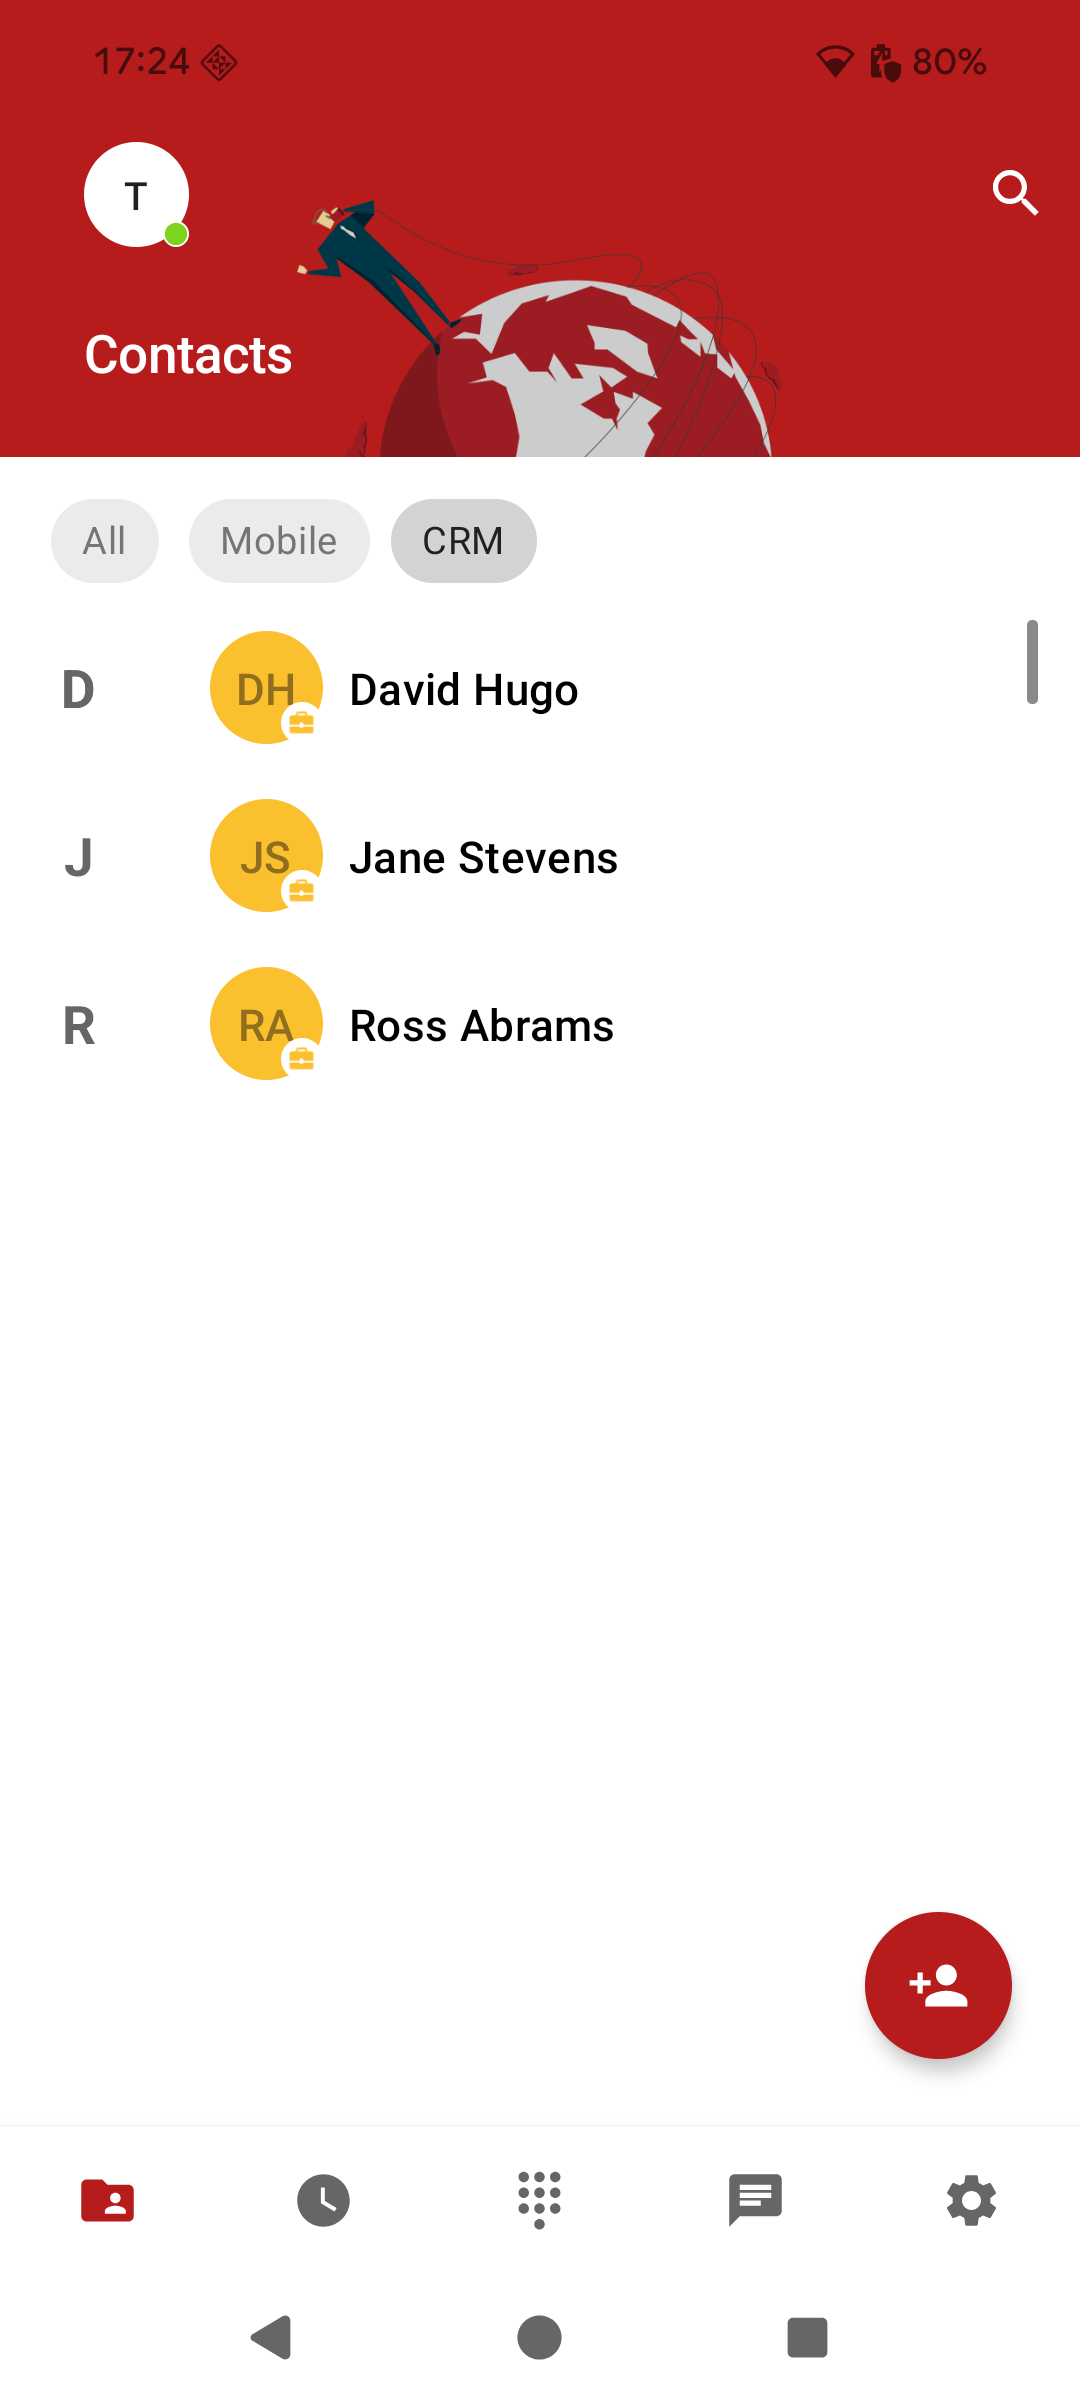
- Integration with Teamsale CRM for importing contacts, applying filters, and adding comments;
- All top codecs and new versions of Android supported;
- Account balance and cost of calls to different destinations display.
Downloading and setting up Zadarma for Android
1. Find and download Zadarma from GooglePlay.
2. When first launching the app you need to enter login information:
SIP-login or PBX extension number: Your SIP number (e.g. 111111) from personal account (section “Settings – SIP Connection”).
Password: Your SIP number password from “SIP Connection” section.

SIP-login or PBX extension number: Your PBX extension number (e.g. 1234-100) from personal account.
Password: Your PBX extension number password that has to be generated on “My PBX – Extension numbers” page in personal account.

3. Allow access to Contacts for correct integration of the app with your phonebook and allow access to the microphone.
4. You have successfully logged in and can make and receive calls and SMS messages.

5. You can add new accounts in section “Settings – Accounts”.

6. You can temporary disable the app or enable call receiving only via Wi-FI in the section “Accounts” by choosing a correct account and clicking edit button on the right. In the field “Receive calls” you can choose Always, Wi-Fi Only or Never.


7. CallerID setting
In the section “Settings - Accounts – Your account” you can change your CallerID (a number which will be seen by the person you are calling). Click on the CallerID field and choose a confirmed number or a virtual number connected with the service.
Note: if you are using PBX you can disable Caller ID change in the app for one or more extension numbers. You can do that from your personal account on the page My PBX – Extension numbers by unchecking “CallerID change from Android app” box.


8. Call forwarding settings
In the section “Settings - Accounts – Your account” you can set conditional or unconditional call forwarding to another number. Choose Call forwarding section, enter a number and choose forwarding status:
- Disabled – call forwarding is disabled;
- Unavailable - conditional forwarding – if the internet connection is stable the call comes through the app, but if the internet is not sufficient it will be forwarded to the chosen number;
- Always – unconditional call forwarding – all call will be forwarded to the provided number.
Note: if you are using PBX you can disable Call forwarding change in the app for one or more extension numbers. You can do that from your personal account on the page My PBX – Extension numbers by unchecking “Call forwarding settings in Android app” box.

9. Contacts integration
In the section “Settings – Integration with Android” you can enable and disable Zadarma app integration with:
- call log (so all Zadarma calls will be displayed in your phone call log);
- contacts (so you can make calls from the contacts list inside the app);
- GSM (so an active call in the app is paused during a call to a sim-card (GSM-call).

10. Integration with Teamsale CRM
If you're using Teamsale CRM with your Zadarma Cloud PBX, you can access your clients from Teamsale CRM, and view or add comments on them.

11. Audioconference
To create an audioconference make a call to a phone number or SIP, click a conference icon and add any participant from your contacts (or SIP). Then press #, participants will be added to the call. You can add unlimited number of participants to a conference call.
12. Enabling encryption
To enable encryption in the app go to Settings - Accounts. After choosing the account in the Transport field change the value to TLS and save the changes.

10. Enabling encryption
To enable encryption in the app go to Settings - Accounts. After choosing the account in the Transport field change the value to TLS and save the changes.

 Calls
Calls
 Phone numbers
 eSIM for Internet
 SMS
SMS
 Business Phone System
 Speech analytics
 Callback button
 Video conferencing
 Click to call button
 VoIP for Business
 Become a partner
 Integrations
 For whom
 Setup guides
 FAQ
FAQ
 Online chat
 Contact support
 Blog
Blog