 Calls
Calls
 Phone numbers
 SMS
SMS
 Business Phone System
 eSIM for Internet
 AI agent
 AI Speech Analytics
 Click to Call
 Call Tracking
 VoIP for Business
 Become a partner
 Integrations
 For whom
 Setup guides
 FAQ
FAQ
 Online chat
 Contact us
 Blog
Blog
Setup guides / Kommo
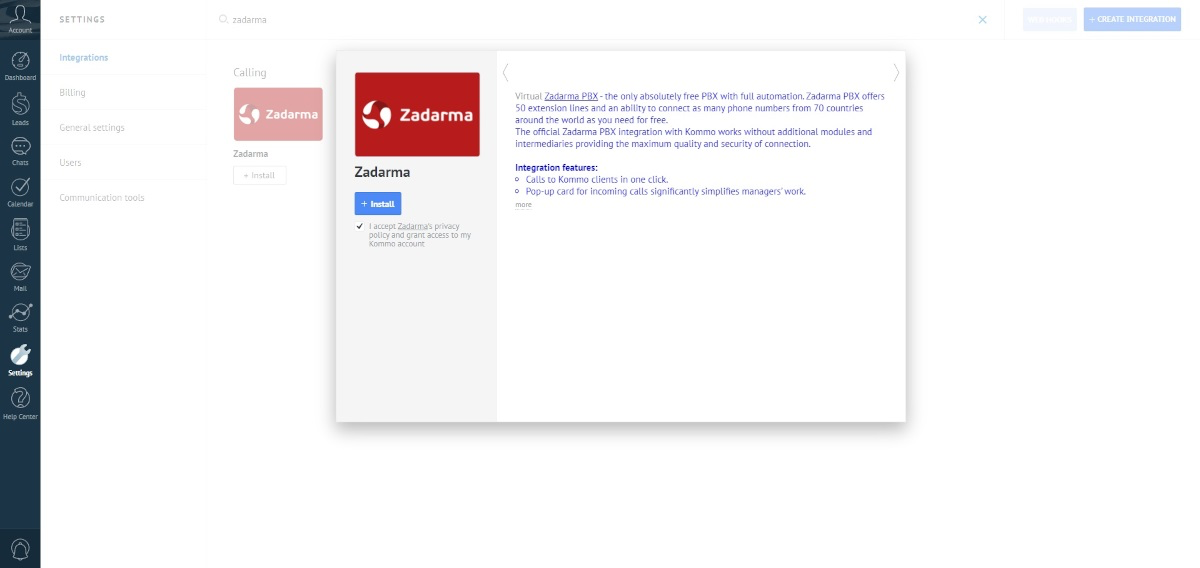
Official Zadarma PBX integration with Kommo works without additional modules and agents, providing maximum communication quality and reliability.
Zadarma-Kommo integration is completely free.
Integration features:
- Make calls to clients from Kommo in one click using the browser (WebRTC)
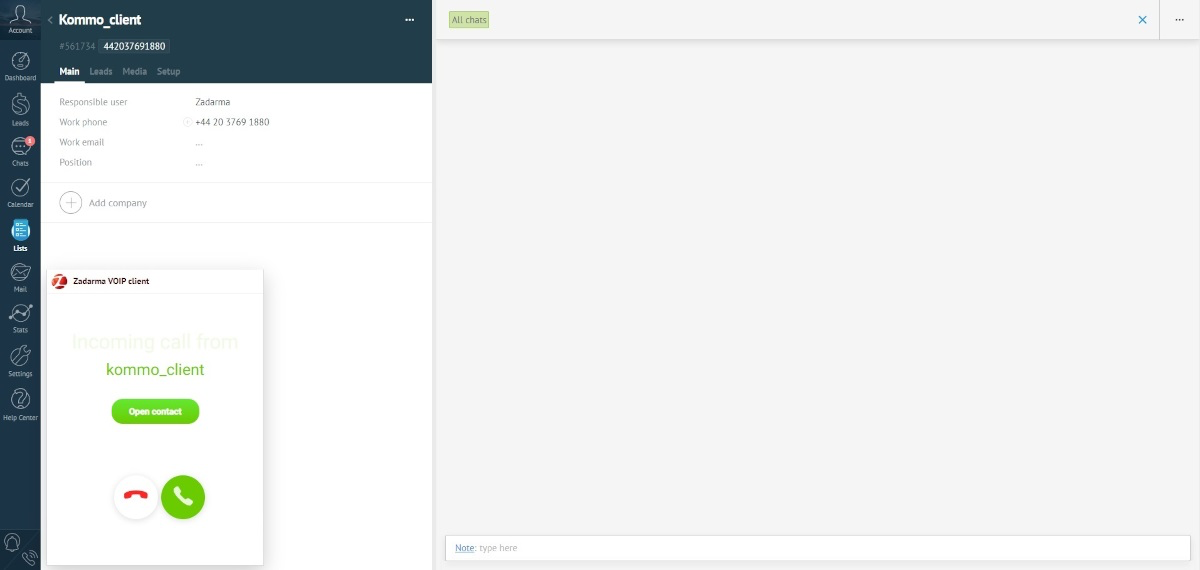
- A pop-up card for an incoming call will greatly simplify the work of managers.
- Call statistics and recording integration. Listen to call recordings directly from Kommo
- Automatic contact creation for incoming and outgoing calls.
- Automatic deal creation for incoming, outgoing and missed calls
- Calls from clients are automatically routed to the designated manager.
- Client's name display on your IP-phone during incoming calls.
Zadarma advantages:
- Completely free PBX, 5 minutes setup
- Price plans for calls at attractive rates to all destinations
- Multichannel numbers in 110 countries (local, mobile, toll-free)
- Additional features: call tracking, website widgets, video conferencing
- Maximum quality and security (19 years of work, data centers in 6 countries, 24/7 support)
Setup Instructions
1. In order to set up Zadarma PBX and Kommo integration, following requirements must be met:
- You need to have an active Zadarma PBX that has been properly set up. Minimal required settings: extension numbers created, from 1 to 50 (one for each employee). If needed, call recording (Call recordings to cloud) is enabled under Extension number settings. Additionally, incoming calls' scenario should be set to the default “Without pushing” in My PBX - Incoming calls and IVR section.
- In the same browser in which the Kommo page is open, you need to log into your Zadarma personal account. If you are not logged into your personal account, follow the link my.zadarma.com to log in.
2. In your Zadarma personal account go to Settings - Integrations and API, then under All Integrations click on Kommo, then Enable. In the new window, choose your Kommo account and click Allow.

In the widget settings you can assign Kommo user a certain PBX extension. PBX extension is a three-digit number that you can see in your personal Zadarma account in My PBX - Extensions. The extension number should either have a configured equipment or software for receiving and making calls (Softphone/IP-Phone) or call forwarding to another number should be enabled. Additionally, you can appoint a designated employee (by default) and set up triggering of certain actions. For calls from a browser, the "Use WebRTC" feature has to be enabled.
Important: due to the specifics of how mobile applications and Zadarma web phones (WebRTC) work, for each extension you must use one of the following - either a web phone or a mobile application.
Then select which Kommo user will be the responsible by default. The responsible by default is the employee to whom missed calls from new clients will be assigned.
Below are the settings for calls, automatic creation of contacts, tasks, and deals.
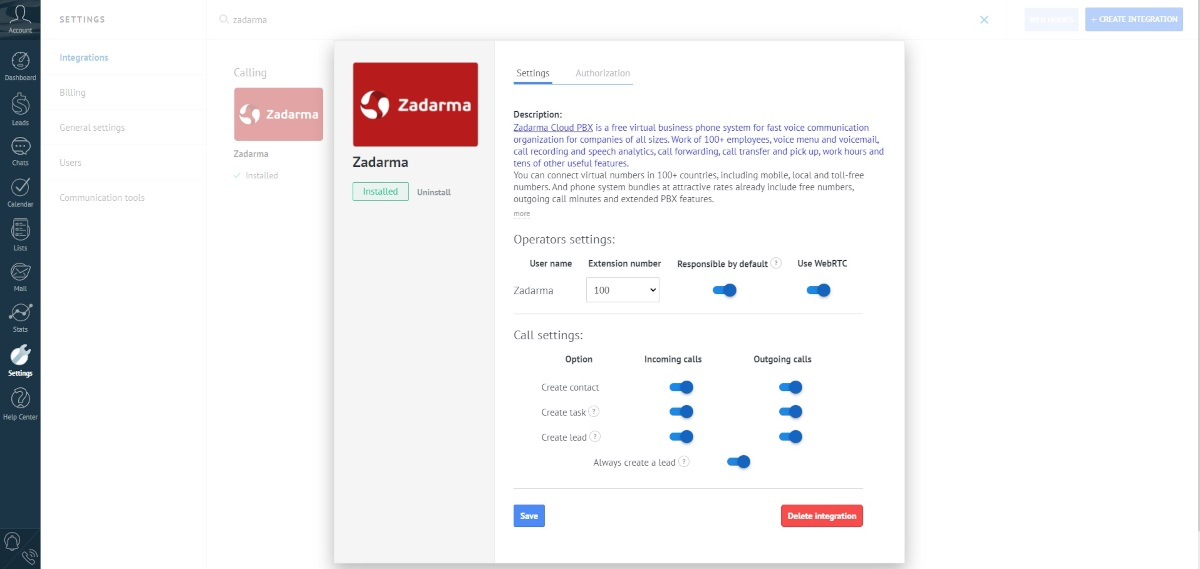
After specifying the settings, click the “Install” button.
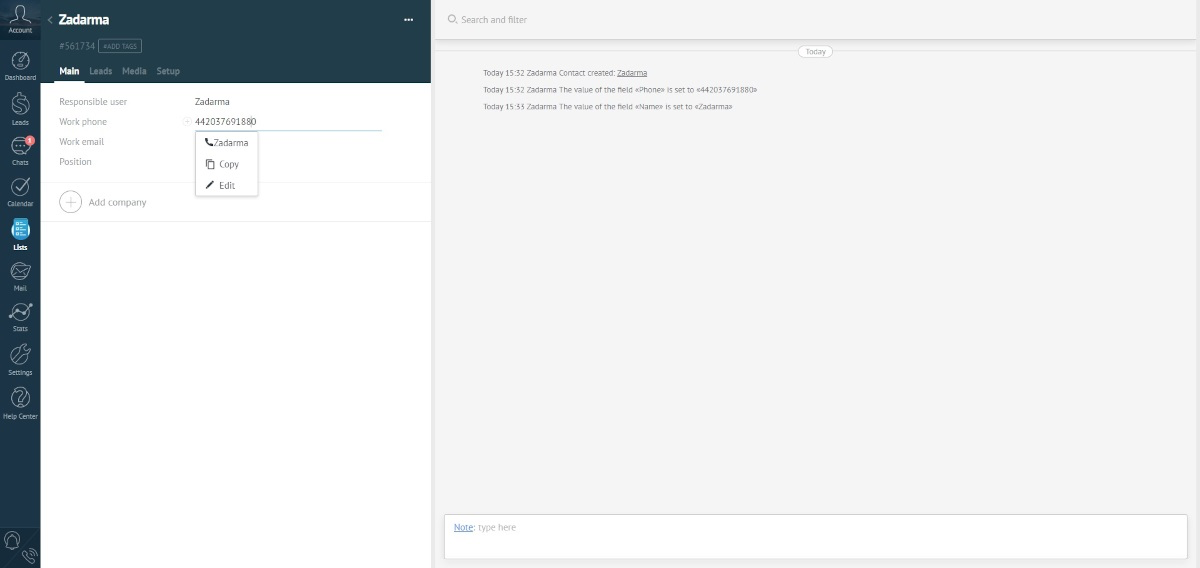
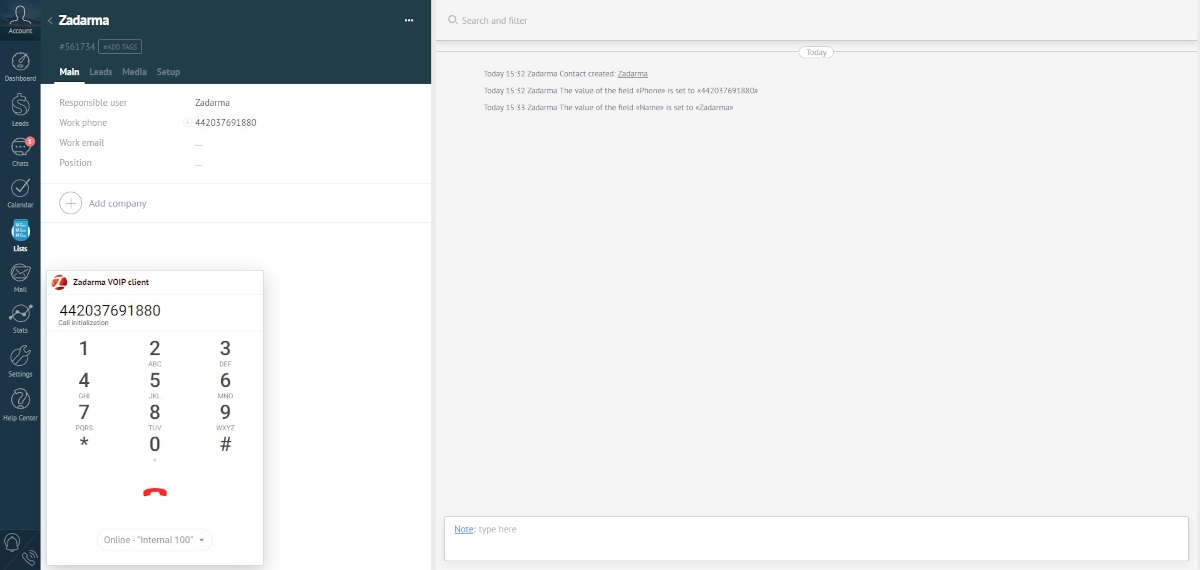
3. Zadarma PBX and Kommo integration is now set. To make an outgoing call, open a client's card, click on the phone number, then click on “Call”. If WebRTC mode is on, you can also dial a number using the webphone in the left bottom corner of the page. During the first call, you need to allow access to audio equipment in the pop-up window.
During an incoming call, you will receive a notification showing the client's phone number and details. If WebRTC mode is on, the call will go through the webphone in the browser.
3. In your Zadarma personal account, in the “Settings - Integrations and API” section, by selecting “Kommo”, you can see which Kommo account has integration enabled and make it the main one, after which additional options for managing incoming calls will become available:
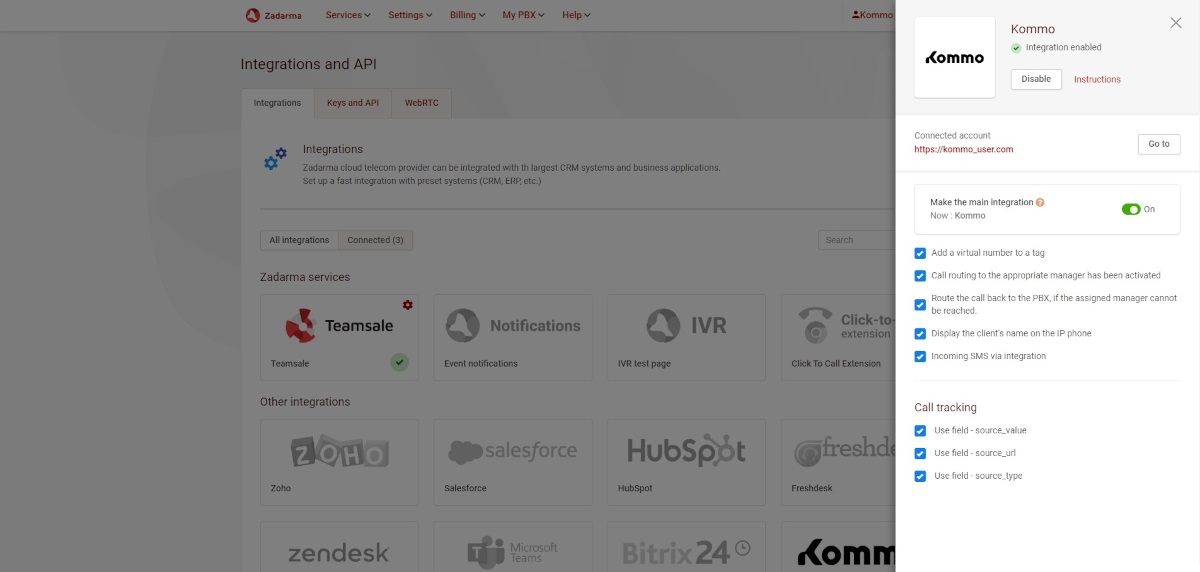
- Add a virtual number to a tag - when you receive an incoming call, Kommo will create a tag with your virtual number to which the incoming call was received.
- Directing a call to the responsible employee - an incoming call from a customer whose number is already in Kommo (saved in the client card, lead or deal) will be automatically redirected to the extension of the responsible employee, bypassing the voice menu.
- Returning a call to the PBX if the responsible manager is unavailable - if the “Call routing to the appropriate manager” option is enabled, but the extension of the manager is unavailable or no one answers the call within 15 seconds, the incoming call will return to the voice menu by default.
- Display the client's name on the IP phone. If you use a third-party softphone or IP phone to receive calls, the Kommo client name will appear next to the calling number on the IP phone. This option has higher priority than the “Number name” option in “Settings - Virtual numbers”.
- Incoming SMS during integration – an SMS message from a number previously saved in Kommo will be displayed in the client’s card feed.
If you use Zadarma call tracking, you have the following options:
- Source url - address of the website page from which the call was made. If any UTM tags were used when visiting the website, they will all be displayed in this field, as parameters in the link.
- Source - source from the “Channels and Sources” tab of the tracker settings. If in the tracker you configure individual sources using UTM tags, for example, utm_source=google, and a client visits your site via a link with such a tag, then “Advertising platform: google” will be displayed in this field.
- Source type - source type from the “Channels and Sources” tab of the tracker settings. For example, "utm_source" for the previous example.